

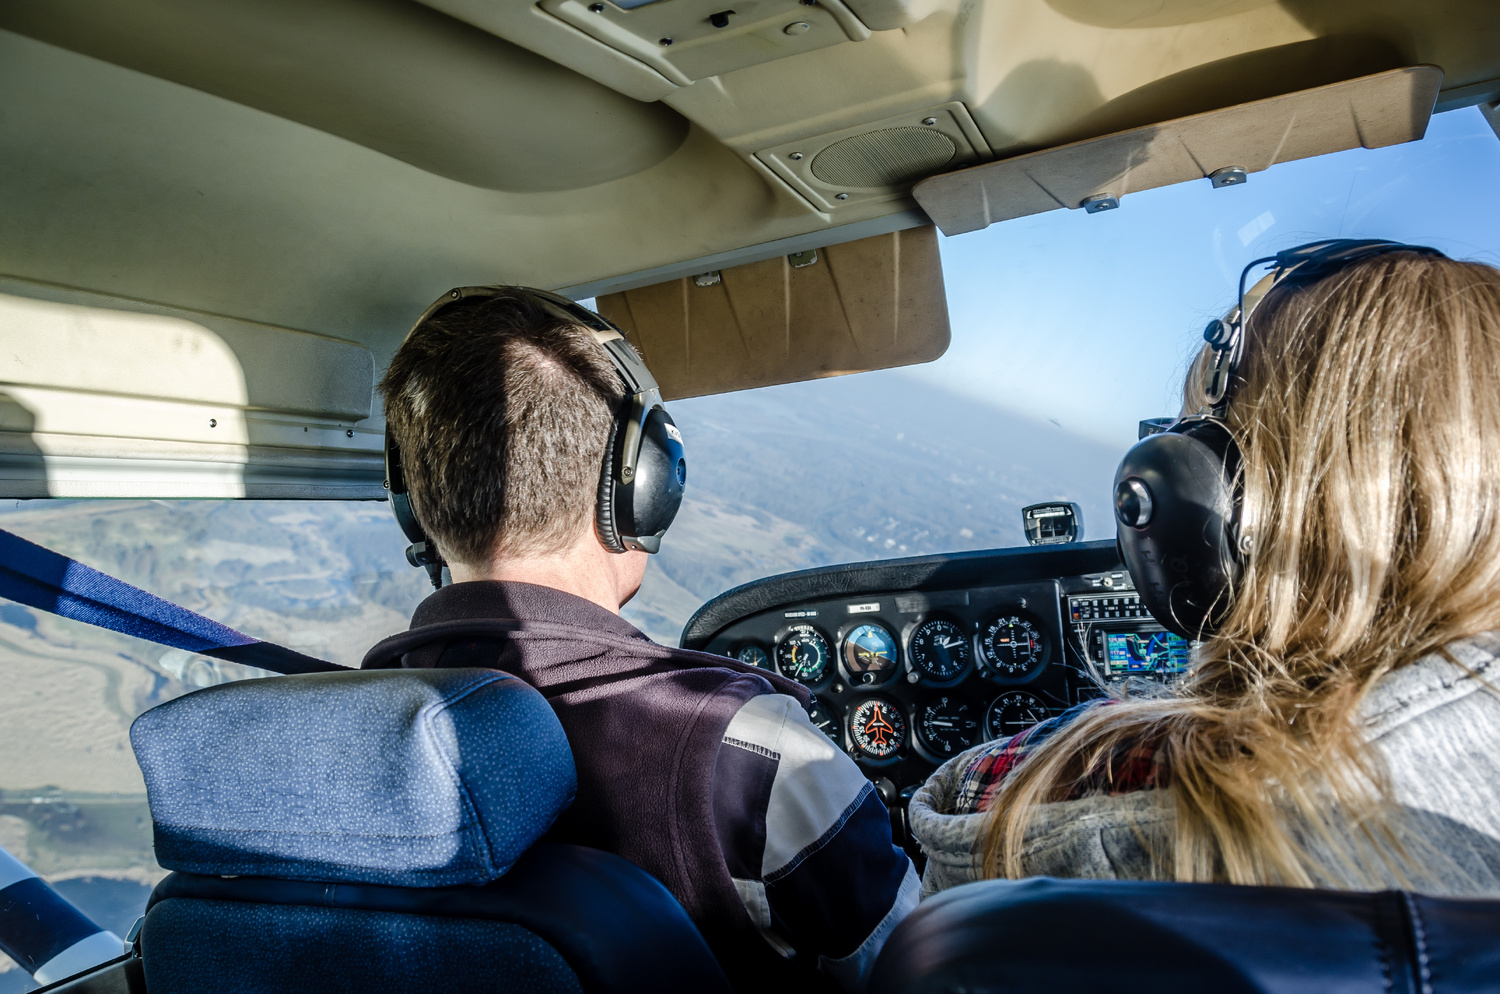
Flight instructors imprint two notions on learners in the earliest stages of flight training. First, steer the airplane on the ground with your feet, not your hands. Second, turn it in flight primarily with your hands, not your feet.
While the first notion remains fairly unchallenged from an aircraft control perspective, the second one can benefit from a change in thinking. In this article written for both flight instructors and learners, we are going to consider how rethinking the indications shown on the attitude indicator and the heading indicator can significantly improve yaw control when performing stall setup and recovery.
Attitude pointer displacement and heading indicator rotation traditionally indicate changes in heading change and pitch and bank, respectively. However, some simple exercises using the rudders can add to the information provided to a pilot.
Exercise 1
Starting in straight and level flight, the instructor applies left and then right rudder pressure, causing the airplane to intentionally yaw and drawing the learner’s attention to changes occurring with attitude and heading indicators. The attitude point will deflect in the direction of yaw, and the heading indicator compass card will rotate in the direction of yaw.
Yes, this is an elementary demonstration, but paying knowledgeable attention to these flight instruments can be a game changer when entering and recovering from power-on, power-off, and power-off turning stalls.
Once the learner observes the instructor’s demonstration, the learner then depresses the rudders themselves with even pressure. This is also an opportunity to verify correct foot position with heels on the floor. The learner is tasked with deflecting the attitude indicator pointer and rotating the heading indicator, then returning them to the starting point.
The idea is to get the learner comfortable with two actions. The first is simply recognizing yaw deflection, and the second is recovering by using rudder inputs rather than aileron inputs. Repeat this exercise until the learner is comfortable with the new notion of control, usually 3-4 times.
Exercise 2
The next exercise is used when entering a stall. The instructor flies everything but the rudders, allowing the learner to build on the knowledge and skills they just explored. The instructor tells the learner that s/he will raise the nose until the stall warning horn sounds and then push it forward to recover.
The learner will be reminded to then look at the heading indicator to see the degree of heading change that occurs and to correct it with their feet, not their hands.
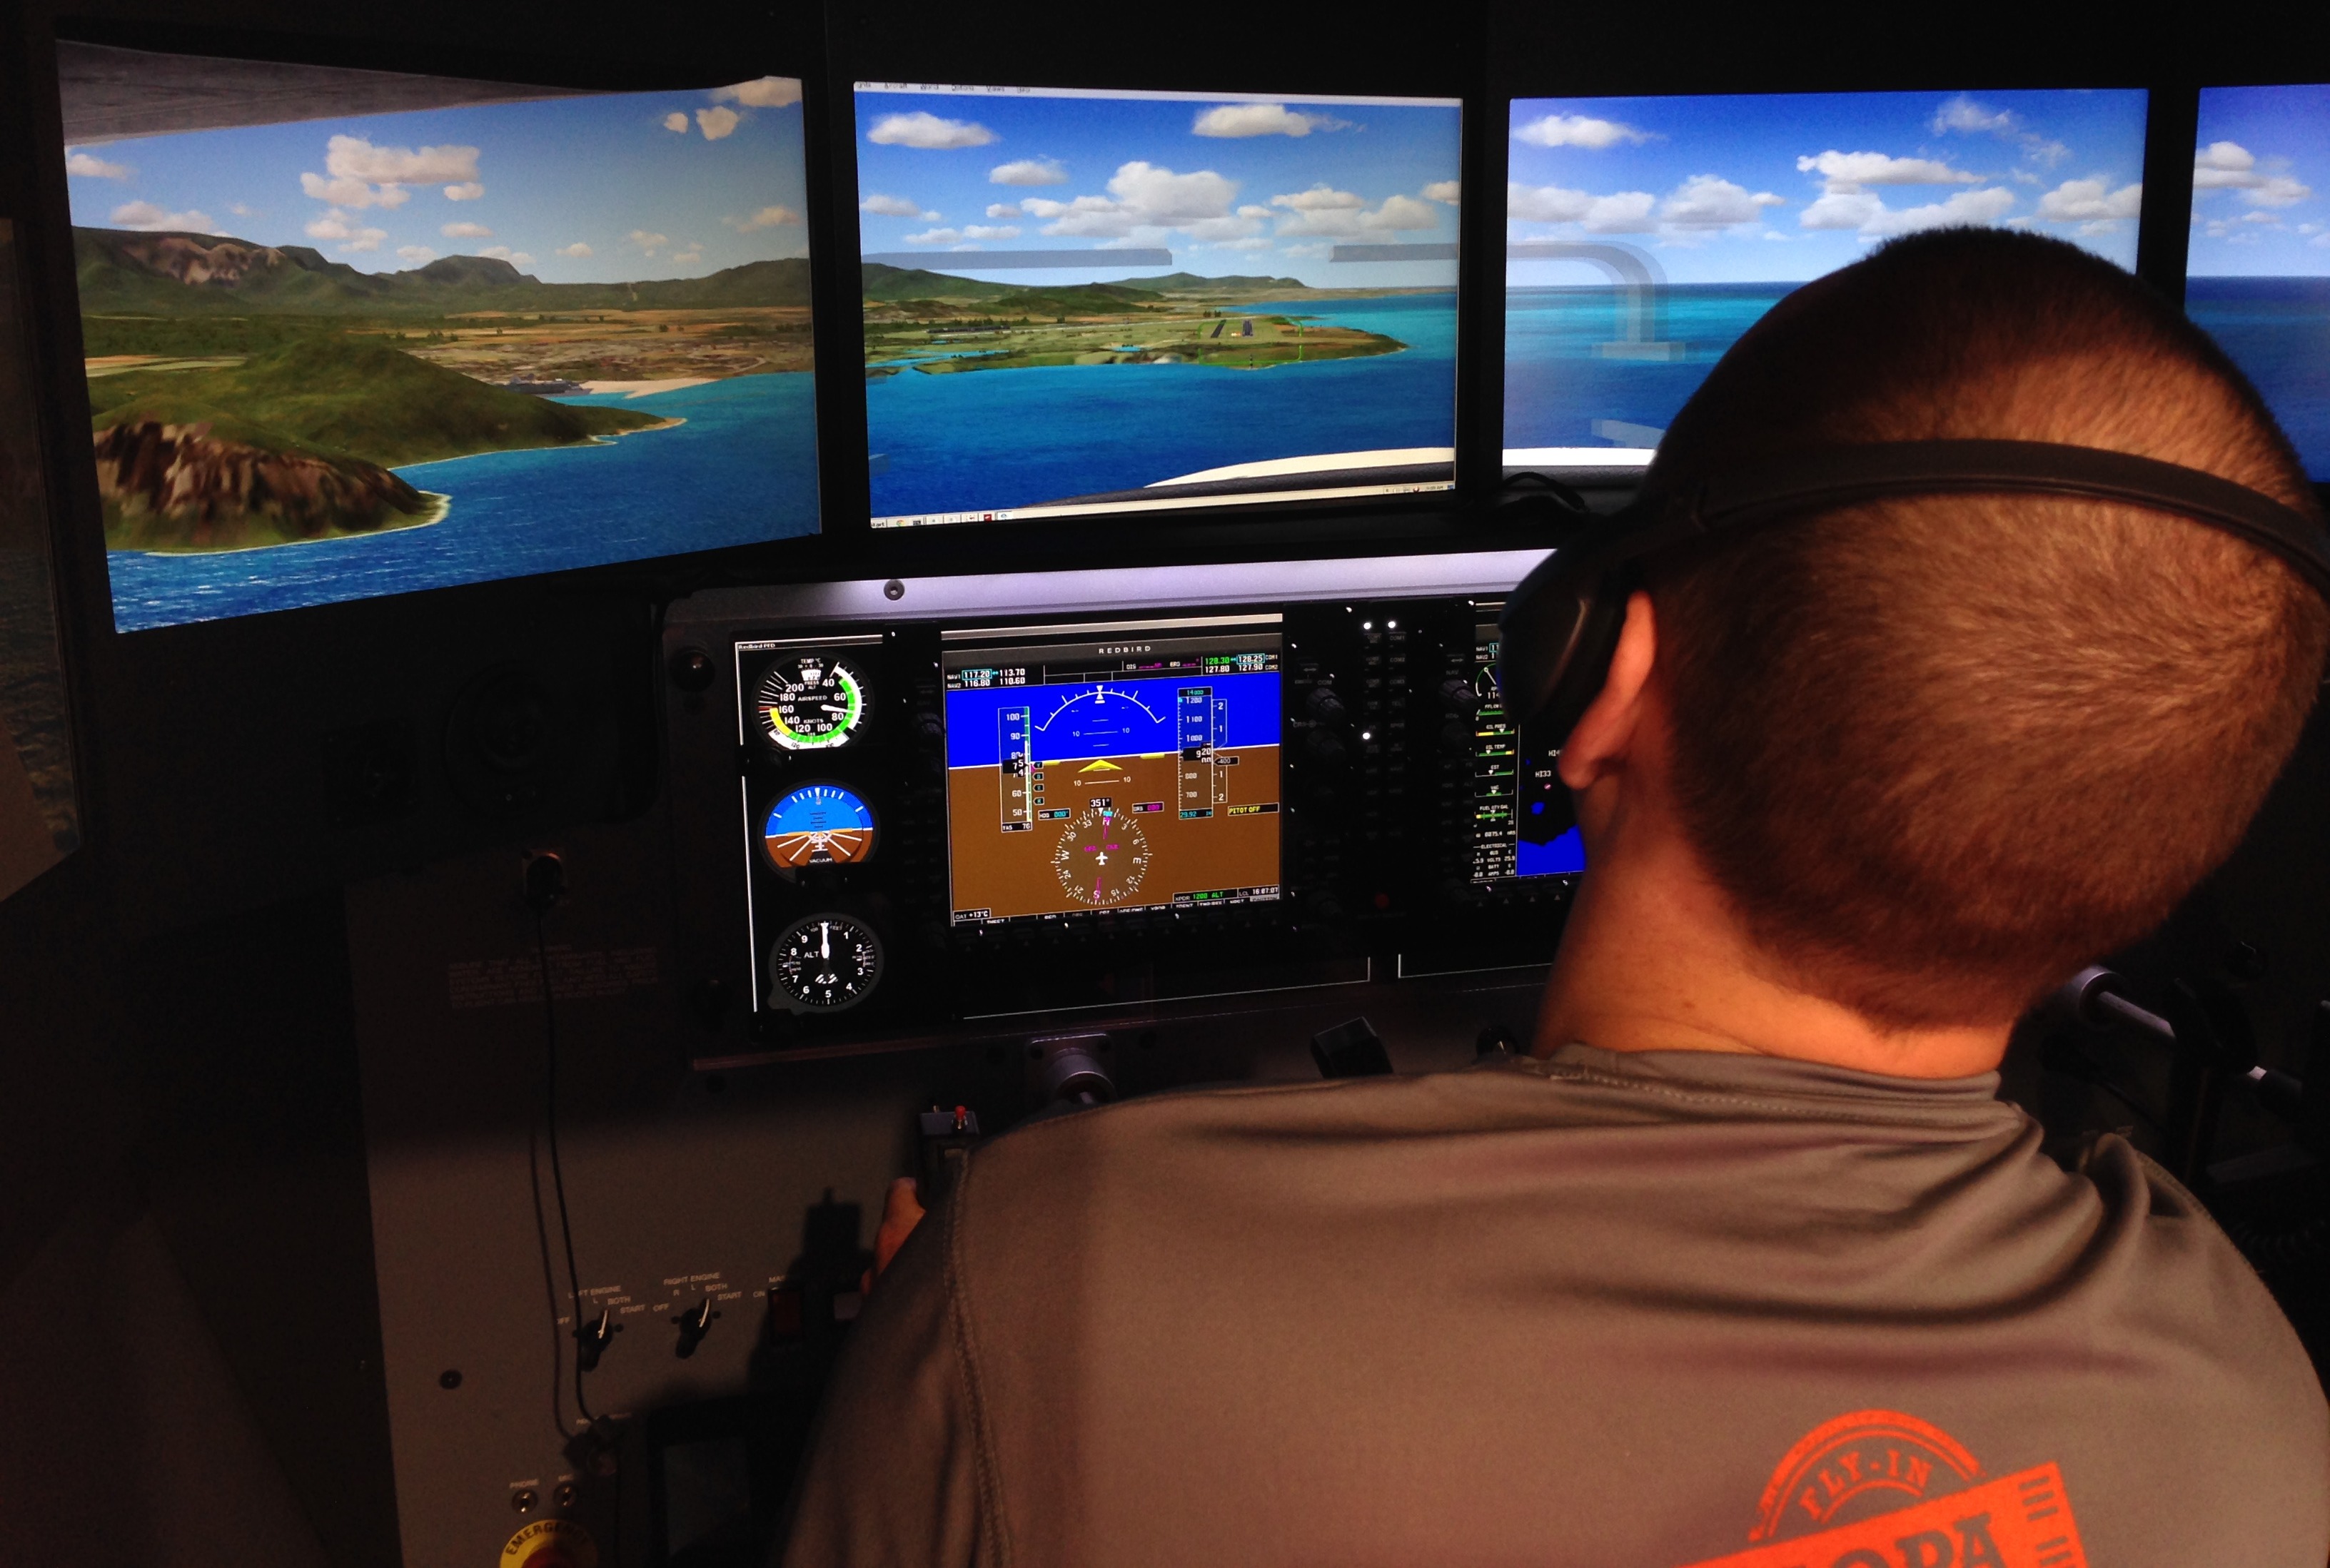
The instructor will raise the nose level to the horizon, and the learner will apply and maintain equal and constant pressure to the rudder pedals, preventing yaw from displacing the attitude indicator pointer and the heading indicator compass card.
The instructor will raise the nose 10 degrees, with the learner holding the rudder pressures and feeling out the finesse needed to prevent yaw. Then, pitch up to 20 degrees, allowing the airspeed to bleed off, which requires more rudder pressure as the reduction in airflow makes the controls less effective.
The instructor will bring the nose back slightly more and then recover at the first sound of the stall warning horn by pushing the nose forward with enough force to induce gyroscopic precession. The instructor then calls out, “Steer with your feet.”
The learner can apply the yaw control exercises they just learned to bring the heading indicator back to the original heading. A heading deflection of 30 degrees or less is likely if they keep enough pressure on the pedals to control yaw consistently throughout the maneuver.
Repeat this example at least three times, and then have the learner repeat by flying the plane to the stall warning horn and then pushing the nose forward, correcting heading deflection with their feet. Repeat using a power-on stall.
An important note should be added here. A certain degree of aileron control is necessary throughout as the stall builds while raising the nose, and it is not the case that only rudder control is necessary for heading control. However, the ailerons become less effective at lower airspeeds, while the rudders remain a more constant source of control. This is because the rudder and vertical stabilizer do not stall in this maneuver.
Adverse yaw will result if the learner tries to recover the heading deflection with ailerons only, and the idea with this new set of exercises is to prevent that from happening.
Final thoughts
Instructors are encouraged to note the winds aloft before beginning the lesson. Try the stalls with the wind at your back, and then into the wind. When you try them perpendicular to the wind, you will likely encounter yaw created by the winds pushing on the vertical stabilizer. As such, practice in wind perpendicular to the airplane should be reserved for last.
After these exercises, there will likely be marked improvement in the learner’s recoveries. So, when turning power-off stalls are introduced, the learner’s application of steady pressures to the rudder controls will be solid, enabling them to maintain a 10-degree bank angle while initiating the stall. With little practice, recovery may seem like a non-event, because by now the learner will have become accustomed to controlling the plane much more with their feet.
The confidence gained through mastery is everything in a plane. This enhanced level of control improves learners’ confidence considerably.
Share this
.jpeg)
How To Teach Preflight Checks
How to Overcome the Challenges of Remote Flight Instruction
