

The E6B flight computer is one of the most useful tools you can have in the cockpit. For many new pilots, it also is one of the most intimidating.
The mechanical E6B is typically made of cardboard, plastic, or metal. You can easily identify it by a few distinct characteristics.
- It has a round face mounted on a vertical slide.
- One side of the round part has several scales (lots of numbers). This is the calculation side.
- On the opposite side of the device, you will find a compass rose and an open screen with a grommet in the center. This is the wind side.
What the E6B can do for you
Remember those horrible story problems from 7th-grade math class? The E6B can tackle them with ease. The formulas for time, speed, and distance calculations are printed on the face of the instrument, as are the instructions for determining density altitude, fuel consumption, converting true airspeed to calibrated airspeed, and even converting air temperature from Celsius to Fahrenheit. A scale printed on the instrument makes that last one particularly easy.
The slide rule also includes scales for both nautical and statute miles. These come in handy when you need to measure distance literally ‘on the fly.’
The wind side
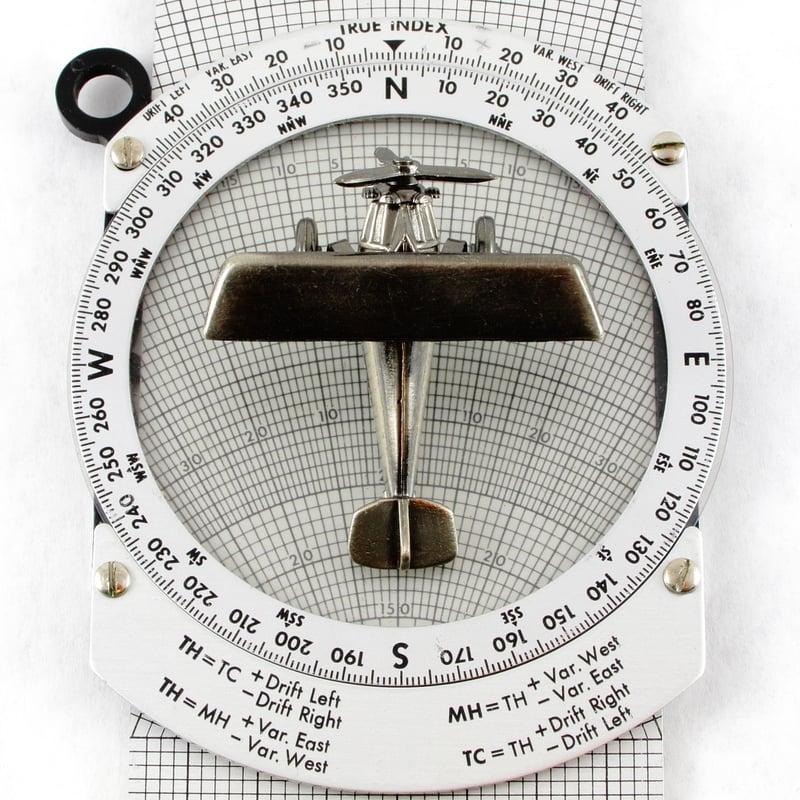
The wind side of the instrument helps you calculate ground speed, which you need to know to determine your time en route and fuel burn. It also has instructions to help you determine the wind correction angle to keep the aircraft on course.
Before you can calculate the ground speed and wind correction, you first need to know the following.
- Wind direction and velocity at the altitude you intend to fly. You can get this information from a weather briefing.
- The aircraft's true course. You can get this information by placing a plotter on a sectional and using the protractor part of the plotter to determine which way the aircraft is going.
- True airspeed (TAS). You can get this from the power settings page of the Pilot's Operating Handbook.
Once you have the above information, you can calculate ground speed and wind correction in a few simple steps.
Let's say the winds at 3,000 feet are 320 at 20 knots, the true course is 290°, and the TAS is 120 knots.
- Begin by setting the wind direction under the true index (this is labeled on the instrument).
- Mark the wind velocity up from the center, which is marked by the hole called the grommet.
- Put the grommet on one of the heavy horizontal lines (note that they are numbered in 10° increments). It doesn't matter which one, but some pilots find it easier to place the grommet on the 100 line. If we do that here, the wind velocity mark will be on the 120° line.
- Mark the wind velocity up from the center point. After you count up 20°, use a soft pencil to mark the wind.
Pro Tip: When using the manual E6B for cross-country flights and using multiple winds, mark the different winds with distinct symbols. For example, mark 3,000 feet with an asterisk (*) and 6,000 with an X, and do not erase the mark until the end of the flight. If you need to divert, you save the step of re-marking the wind dot. Use a pencil to make your wind marks on the face of the instrument. - Next, set the true course under the true index (note the wind dot you made is now to the right of the centerline).
- Slide the round part down until the wind velocity mark is on the line that represents true airspeed. In this case, you slide the round part of the E6B down until the wind dot is on 120. The ground speed reads under the center (in this case, 100 knots). You will need to record this on your navlog.
- The wind correction angle reads between the center line and the wind velocity mark. You should also record this information on the navlog.
Note that there are vertical lines numbered in 5° and 10° increments. In this case, it is over to the right by 5°, which you would record as +5 on the navlog. If it is to the left of the centerline, you record it as -5°.
Related Content: The Ultimate Crosswind Calculator Cheat Sheet
The calculation side
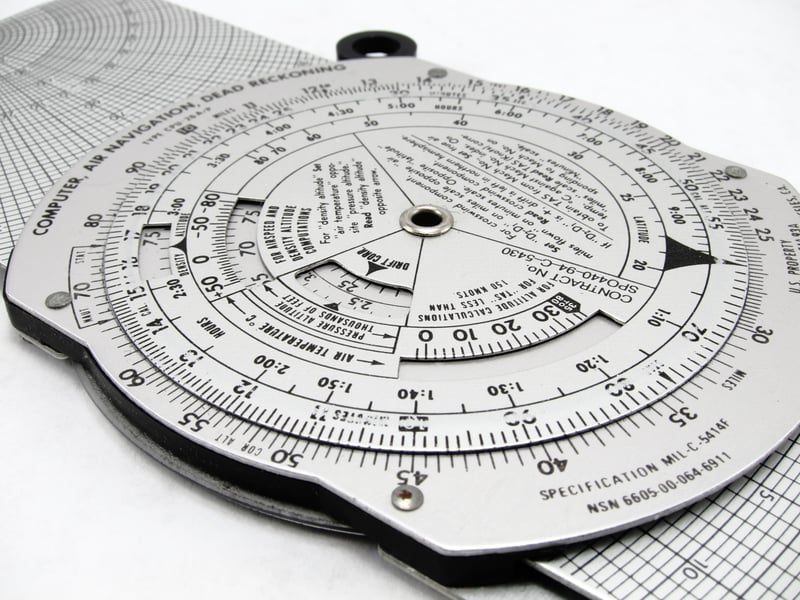
The calculation side has three scales: the A scale, the B scale, and the C scale.
- The A scale is on the outside of the instrument. Look for the letters ‘CAS’ for calibrated airspeed and ‘TAS’ for true airspeed. Note the fine print.
- The B scale is on the outside of the movable disk. Look for the heavy black pointer (called the index). Most calculations will require you to put the index on a particular value. Time in minutes is on the B scale.
- The C scale is beneath the B scale. Time broken down into hours is on the C scale.
A conversion scale for Fahrenheit and Celsius is also at the bottom of the device.
When you are ready to solve an equation, refer to the directions printed on the face of the instrument in the center. To practice, let’s solve a distance and time equation.
The first step is to draw the course lines on the sectional, noting the pilotage references and the distances between them on the navlog. For this exercise, let's say you have selected the following checkpoints.
- A bridge (17 nm)
- The shoreline (12 nm)
- The fairgrounds (21 nm)
- Your destination airport (19 nm)
You have determined that the ground speed for this leg of the flight is 100 knots.
Now, take out the E6B and follow these steps.
- On the calculation side of the E6B, place the index pointer across from 10 on the A scale. In this example, that 10 is actually 100.
- Find 17 on the outside scale (note the time en route to the bridge is 10 minutes).
- Find 12 on the outside scale (note the time to the shoreline is just over seven minutes).
- Find 21 on the outside scale (note the time to the fairgrounds is approximately 12.5 minutes).
- Find 19 on the outside scale (note the time to your destination airport is approximately 11.5 minutes).
Did you notice that you did not have to move the face of the calculation side? You can get the value at a glance.
Related Content: My Destination Airport Closed Mid-flight
Determining density altitude
Calculating density altitude with an E6B is fairly straightforward. Simply set the pressure altitude opposite the temperature in degrees Celsius in the window. Opposite the CAS on the B scale, read the TAS on the outer scale, and read density altitude under the center index.
The Electronic E6B
Many pilots favor the electronic E6B because it resembles a calculator, which they are likely plenty familiar with by the time they are old enough to begin flight training. The formulas for the calculations are often printed on the backside of the instrument. Just like the manual version, the instructions take some time to read.
The electronic E6B is more precise than the manual one. However, there are a few downsides to using the electronic device.
- The screen can be difficult to read in direct sunlight.
- Some models of electronic E6Bs go through batteries quickly, so having spares is important.
- The instructions can wear or be scratched off if you stuff the device in a gear bag or accidentally drop it on the ramp.
E6B Apps
We live in an app-happy world. There are several E6B apps to choose from, including apps from flight training powerhouses ForeFlight and Sporty’s. If you fly with an iPad, an E6B app can be a good fit, provided you know how to use it before you need to use it. Mindlessly pressing buttons or forgetting to plug the tablet into the power source can bite you.
Even if you prefer the ease and functionality of an app, as many pilots do, understanding the basics of a manual E6B can prove very beneficial. During flight training, it can be distressing when a learner has only used apps that generate an electronic navlog and has not learned the basics of flight planning, such as determining true course, variation, or how to select checkpoints for pilotage.
Apps are certainly easier and less time-consuming than the pencil and paper method but don't shortchange yourself of basic skills, such as pilotage or determining true course with a plotter and a sectional.
Share this
How to Overcome the Challenges of Remote Flight Instruction

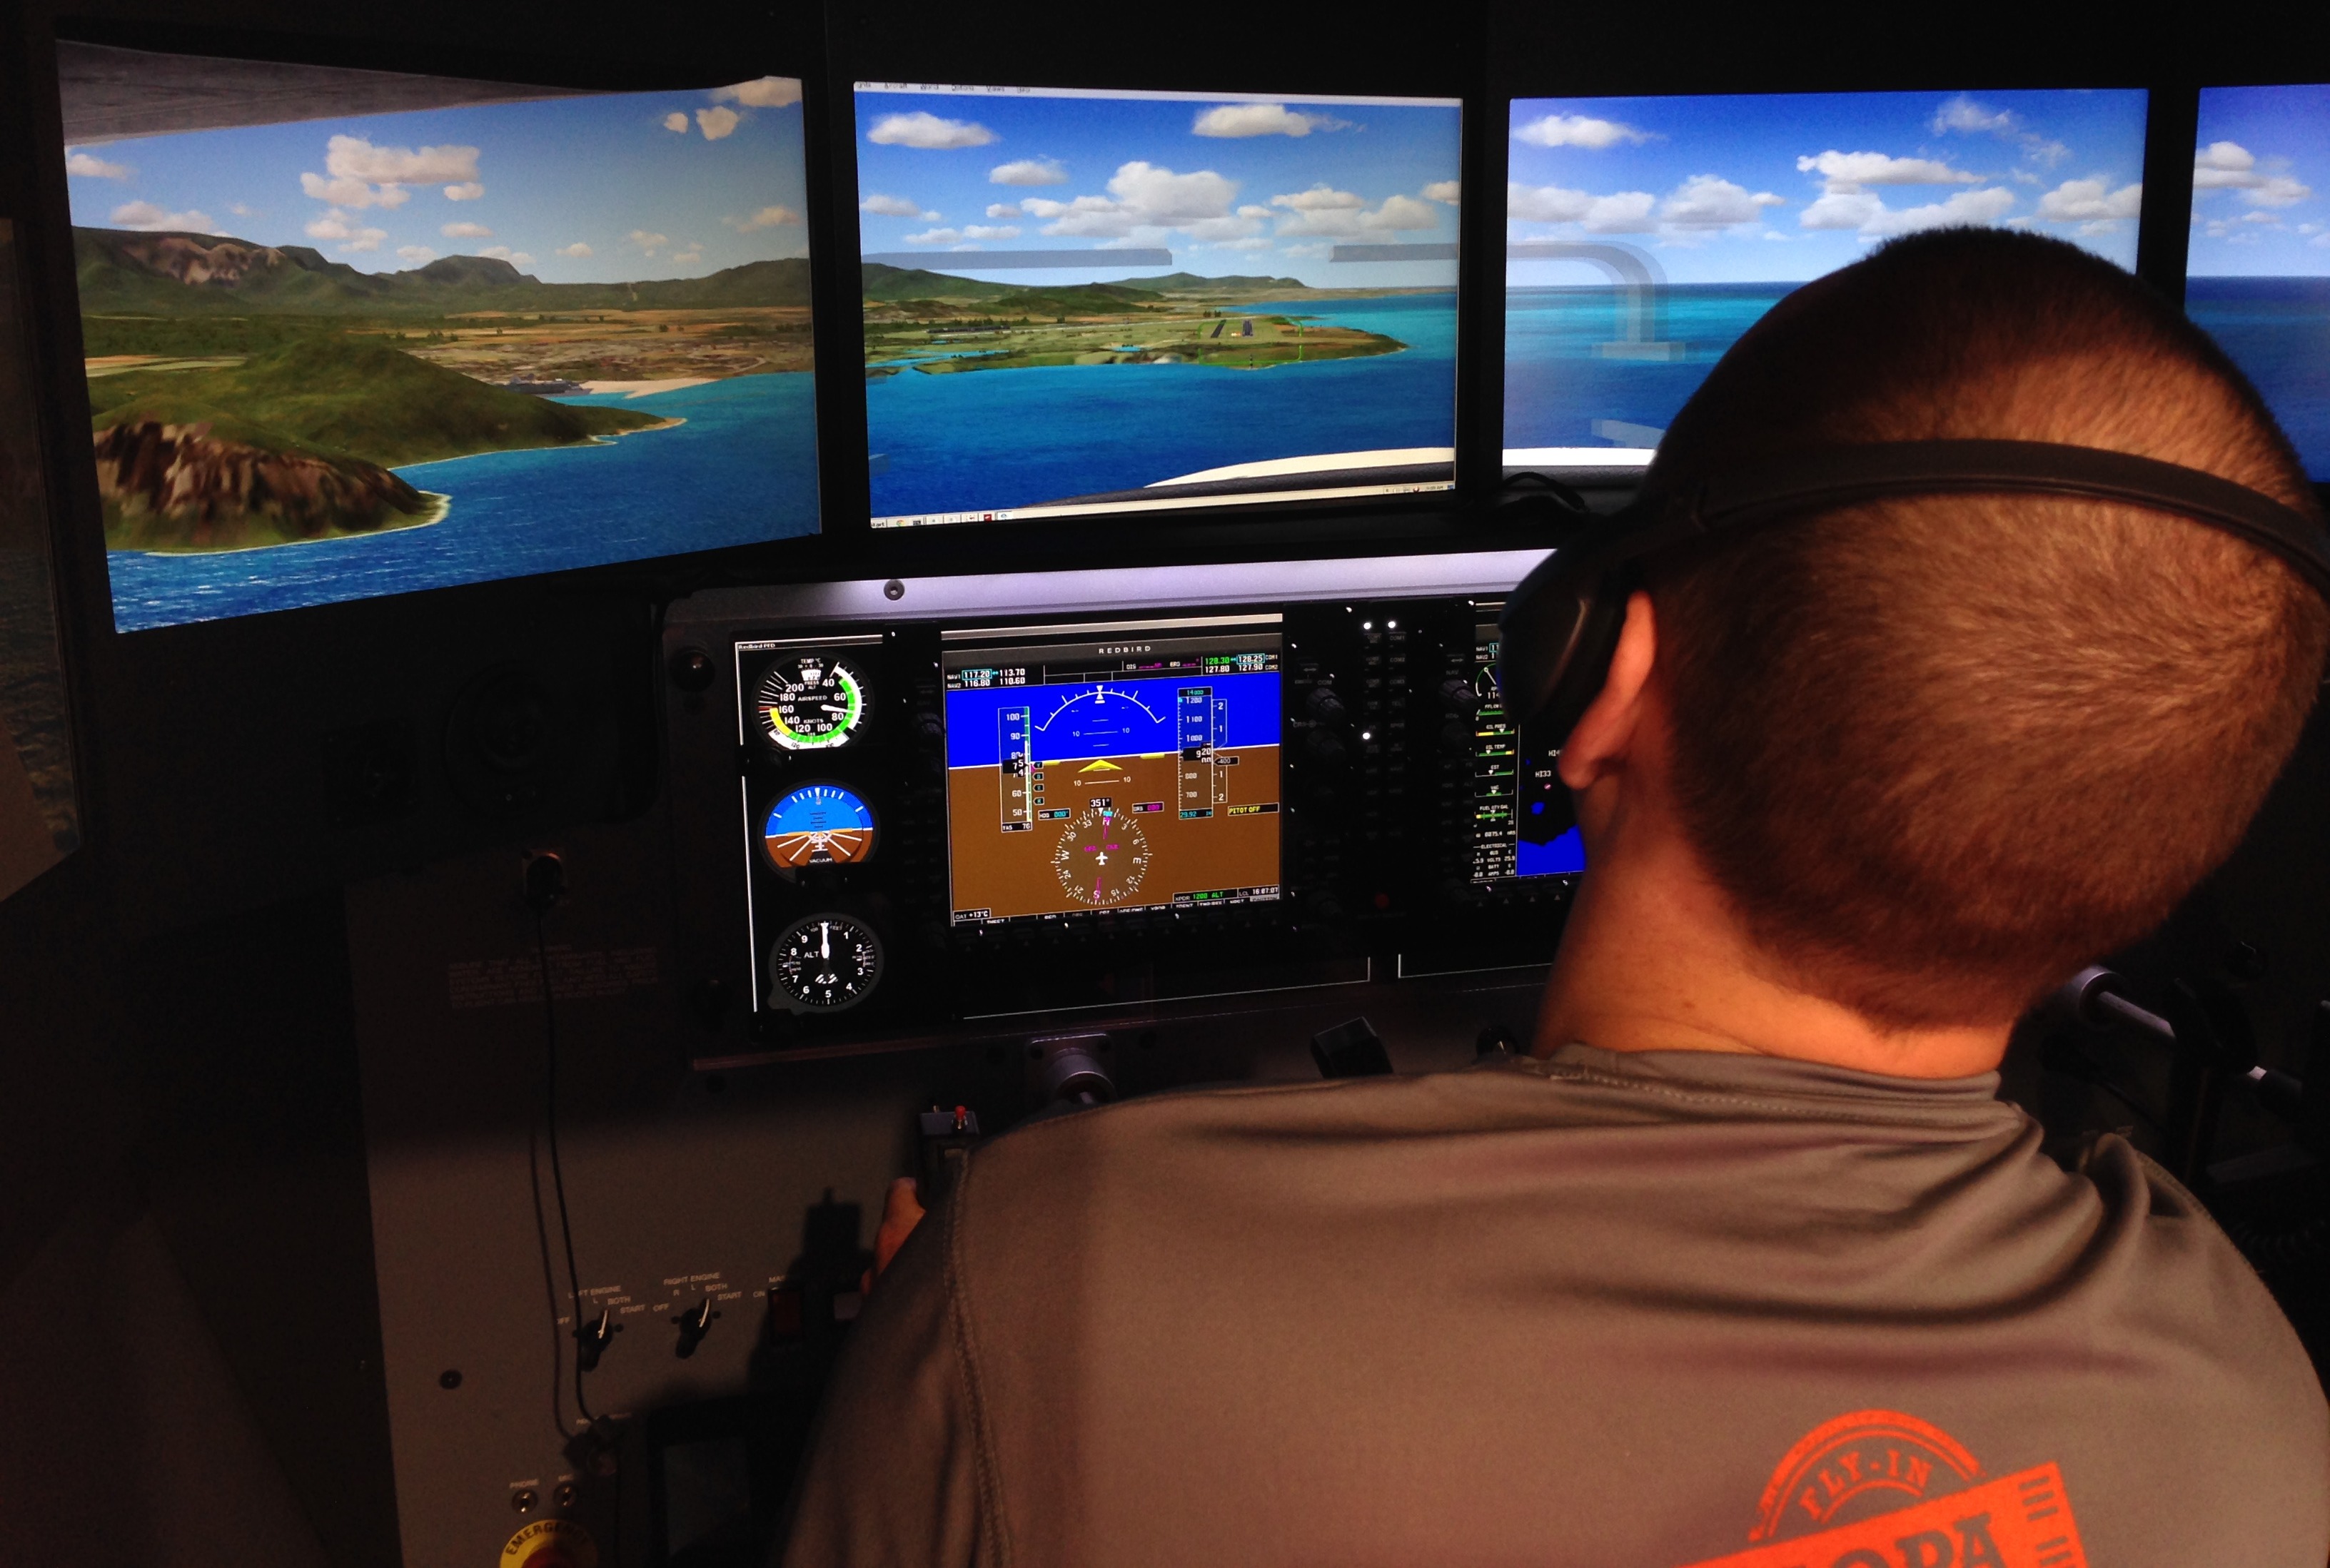
How To Add Live Air Traffic Control to a Home Flight Simulator
.jpeg)