Recent events around the world are moving educators from in front of a classroom to in front of a video camera. While we all hope we can return to some form of educational normalcy this upcoming school year, we also cannot ignore the very real prospect of continuing distance learning in some capacity.
Despite the media coverage and conversations about distance learning, very few tutorials exist for distance teaching. While I do not proclaim to be the expert in online teaching, I have done it for over a decade. In that time, I’ve gotten my nose bloodied more than once and have learned some hard lessons. The result has been the production of live aeronautics distance learning classes that my students have found engaging and efficacious. This type of aeronautics programming has also allowed me to flex the “T” in STEM and model what I believe the future of most adult learning will be for my students.
I have put together an outline of a few tips and tricks I have learned along the way teaching online. This outline may also be useful for you in the form of a checklist. As your skills and comfort grow, you will no doubt adjust this checklist to suit your particular needs. So, with these lemons life has given us, it’s time to make lemonade!
Preparing to Teach Online
Regardless of the type of class that you are teaching, you no doubt know your materials forwards and back. However, this is still a good time to reevaluate information in your course as it pertains to this new forum. Some of your techniques that have worked in a live setting may no longer be an option.
Re-examine your teaching materials
 How will they translate to the screen? Translation to the screen can mean a couple of different things. First, consider that screen. I used to think all of my students would be participating through a computer, whether desktop or laptop. I found out this is not always the case. I had as many students tuning in on iPads and even their cell phones as were using actual computers, which creates a challenge with imagery. Certain levels of detail that are available on a larger screen disappear on an iPhone. So, while your actual teaching materials may stay the same, you may need to reevaluate how you present them. Where you may be used to showing an entire image on the screen, it may be necessary to subdivide the screen into smaller units as you present the material.
When in doubt, try to look at what you are presenting on an iPhone. That will tell you real quickly how this is going to work.
Re-examine your students’ supplemental materials
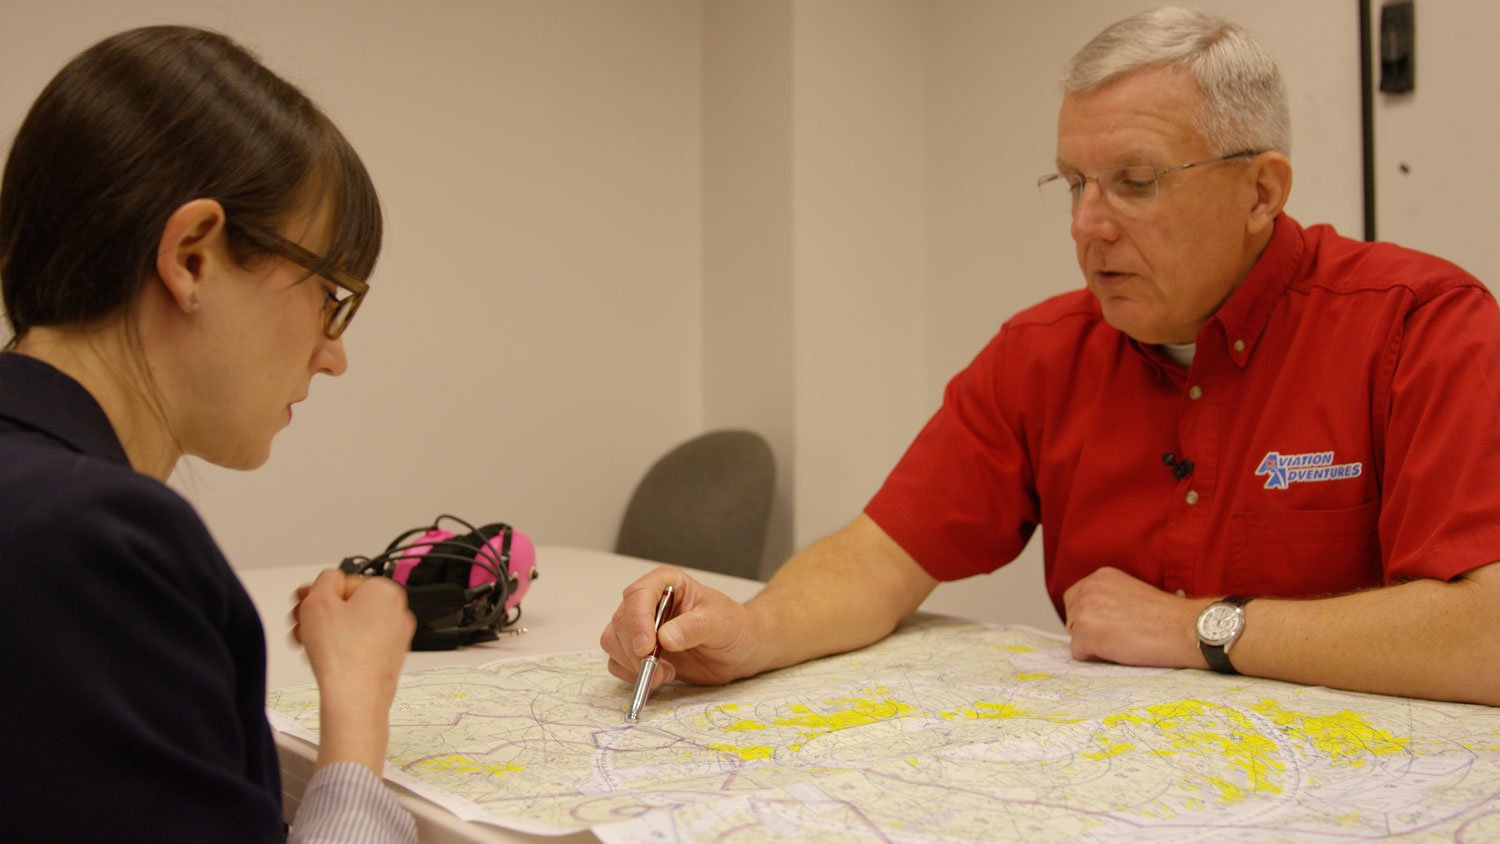
Think about some of the technical information that you share with your students. Take electrical systems as an example. While it may be possible to break down an electrical schematic in sections of your presentation, it is also necessary for students to see that schematic as a whole to follow the flow. So, how do you do it?
While the schematic may make perfect sense on a screen the size of a desktop or laptop, students may not be able to follow the detail on smaller screens. This may be a case where you need to add different materials to your students’ “electronic backpack” to understand the exercise. In some cases, you may need to link to these supplements, and students can download and print them on their own. If they are unable to print these materials, you may need to print and send them the materials through the mail ahead of time.
Shift your expectations
The first time you dive into this type of teaching, it may be frustrating. Transitions may seem clunky, and the class may flow a bit differently. So, start by taking a deep breath. Cut yourself some slack and tell yourself, “this is going to be different.” You’re a pro. You’ve got this!
Choosing a Platform for Your Virtual Classroom
There are quite a few choices out there for online video platforms. Your school district may offer a proprietary, education-specific platform, or you may be able to choose your own. My aim here is not to evaluate or recommend one of these options, but I will say that your life will be a lot easier if you know all the ins and outs of the platform you’ll use for virtual classes. Take the time to go through all of the tutorial information offered for that platform. It may seem tedious, but hey, you’re an instructor! You are used to tedium!
Keep in mind that while you’ll be eager to find out what your system will do, the devil may be lurking in the things it WON’T do. For instance, the platform may allow you to see all of your participating students, but it may not allow you to mute their microphones all at once. You have to know the assets and liabilities of the platform you are using. This information can also affect your presentation materials and how you can transfer knowledge.
Practice, practice, practice
Once you think you have a pretty good handle on what your platform will and won’t do, practice, practice, practice! Find that person who owes you a favor and set them up as one of your students. Go through all of the different techniques and approaches you may use as you teach, including materials you suspect may be difficult for students to see. Based on the features of your platform, decide how you will manage the interaction during your class.
- Will you allow verbal questions at the end?
- Will students ask questions via chat?
- How do you mute your students’ microphones?
- How do you turn on your students’ microphones?
You’re not only teaching the class; you’re directing the show. Run through the gauntlet enough times for you to be comfortable with all the controls, transitions, and capabilities of your platform and your machine. It may cost you lunch to the person on the other end, but it’s worth it. Never put yourself in a position to start learning the platform during your first class. Trust me, that’s a recipe for disaster.
Creating a Plan for the Class
Syllabus
Now that you have practiced, and have a better understanding of what will and won’t work, go back to your materials and see if there are going to be any changes necessary to your standard syllabus. If so, record and change them now so that your students have the final version when you start the class.
Visual aids
Before you begin each class, make sure that you set aside enough time to pull up all the visual materials that you may need during the class. Fumbling for this information during the class can cost you time and eyeballs. Never give your students an excuse to turn away from the screen.
Time management
If you tell your students these will be 45-minute classes, then make sure that you keep to that. Countdown timers are a good investment and a cheap one. They not only can help keep you on track, but they can prevent you from running out of time at the end of the class—especially if you plan to leave time for questions.
Adjusting to a Video Format
I’m sure you look fabulous in class, but will it show on the screen? Here are a few questions you can ask yourself before each class to make sure the video stream is clear for your students.
How is your lighting?
While dark lighting and shadows may work well in a Quentin Tarantino film, they probably are not the best idea for one of your students who is tuning in on an iPhone. You want as much lighting coming from the front of you as you can get without having to wear sunglasses. This approach highlights your face and puts the focus on you. If you don’t have enough front lighting in the space you have chosen for your broadcast, consider supplemental lighting. Simple video lighting options are available online, are not very expensive, and can be a good investment for your classes. Backlighting, or lighting that comes from behind you, tends to show you as a dark silhouette, which can prevent you from making the visual connection you need with your students.
Are you positioned in the frame?
This is the perfect time for you to be the center of attention! Positioning yourself in the center of the screen is pleasing to the eye. Normally, you want to fill the shot with the top of your head slightly below the top of your screen and your shoulders slightly above the bottom of the screen. This is a natural view and allows the viewer to see your eyes.
However, to do this, you have to know where the camera is on your device. In most cases, it will either be at the top of your screen or on the side. You may have to use your hand to move it around the screen until it covers the camera. Once you know where it is, don’t forget. You’ll be tempted to look at yourself on the screen, but try to resist the urge. To engage your students, you need to look into the camera so they can see your eyes looking at them. This may seem unnatural to you at first, but you will get more comfortable with it the more that you do it. Remember, even though your students may appear on the screen, when you are addressing them, you need to be looking at the camera!
Does your camera have a solid base?
Make sure that you have a solid base for the camera that you are using, whether it’s your computer’s internal camera or an external one. In a recent webinar that I was watching, one of the presenters was using an external camera attached to the top of his computer screen by a flexible camera mount. Due to some vibration beneath it, the camera began wiggling back and forth throughout the presentation. It looked like the speaker was in an earthquake! Make sure whichever camera you are using doesn’t move around.
How’s the camera height?
When you’re adjusting your frame, be sure to watch the mounting level. Sometimes people will put an external camera on the desk beside their keyboard (at keyboard level), which shoots up at them during the broadcast. Combine that with an unsteady base, and it looks like an outtake from The Blair Witch Project. I have also seen people that mount cameras above them, which creates an unfamiliar angle for your students that only adds to the newness of the online platform. Try to mount that camera somewhere between the bottom of your chin and level with your eyes. A slight upward angle is better than a downward angle. Don’t forget to practice looking at the camera as you’re positioning it.
How do you sound?
Internal microphones, like the ones found natively in laptops, iPads, and external cameras, should pick up your voice nicely when you are positioned as described above. However, unfortunately, they also can pick up everything happening around you just as nicely, and that can be a real distraction to your students.
If you must present in a noisy environment, then you may need to purchase an external microphone. Suitable external microphones can be found in most wired and wireless earbuds or headphones with a microphone attachment. You also can invest in a lavalier mic connected to a separate receiver that plugs into your broadcast device. There are many options to help you isolate your sound and the sound of your students. Find what works for you during those practice sessions I mentioned above.
What’s your background during the class?
Finding a comfortable place to sit or stand during your presentation is important, but be mindful of what is behind you. You may have a class poster that is appropriate as a backdrop, or perhaps a large monitor with a static image of something relevant to the class. However, stay away from moving images. You want the focus to be on you, not what’s going on behind you. If having a live scene in the background benefits the class, try to make sure there isn’t a lot of activity, such as cars passing, boats sailing, horns blaring, etc. Interesting backgrounds can add to your broadcast, but they also can take away from your lesson.
Setting the Tone for Your Students
Students tend to adopt the attitude of the most senior carbon-based life form in the room, even if you’re not in the room. If you approach this distance learning experience with a negative attitude, that’s what you can expect from your students too.
To make your life much easier, my recommendation is to address the elephant in the room: online learning is different, and in a perfect world, you would all be back in the classroom. However, your students’ ability to improvise and adapt is also a life skill. Their participation in your class builds a new skillset that will serve them well in the 21st century. For upper-grade level high school students, an online learning environment is great college preparation. Many university courses are conducted remotely now, and students should be familiar with the amount of work and initiative involved.
This could be the most important conversation of the entire course, so give it the thought it deserves, perhaps script it out, and deliver it with optimism.
Related Content: STEM For Every Classroom
Measuring Progress
For the courses I have taught, I have used a flipped classroom for my students, and I would encourage that methodology to help your students learn as well. By reading the assignments outside of class, your students should be ready to participate and contribute during your time together. To keep the students engaged during class, I throw in random questions to specific students on a rotational basis. It helps create a more personalized learning environment online. I like random short-cycle assessments on assignments. Some platforms allow the use of electronic hand-raising. This can be useful to make sure everyone is on the same page.
Some platforms also allow you to tie in electronic quizzes and assessments directly to your school’s LMS. The integration may take some additional time to set up on the front end, but it pays dividends on the back end.
Potential Pitfalls
While this can be a new educational opportunity for us all, it’s not always puppies and ice cream. Learning new technology may not be everyone’s strong suit, but you’ll conquer it with planning and perseverance. Have a plan for when your connection fails. Oh yes, it will fail, and it will do so at the worst possible time. You need to have a contingency plan in place and communicate it to your students so they don’t log off if the connection drops.
You've also probably found that some people will attempt to attach a negative stigma to online teaching and learning. Do not let yourself fall into that trap. Be prepared to defend your classes. Your positive attitude will make your classroom stronger and your life a lot easier. As I mentioned earlier, I’ve found certain advantages in teaching STEM courses online. The virtual format highlights the benefits of technological literacy in our students. This is also an opportunity for personal growth. You may never have anticipated that you would be in front of the camera instead of a group of students, but it’s an opportunity to build and flex more educational muscles.
These are just some of the things I have learned in my years of distance teaching, and they are only meant to help get you started. This is by no means an exhaustive list of all of the things you may encounter as you set up your electronic classroom. However, discovery can be an education in and of itself. In time, I think you will find that this type of teaching will be rewarding, and that it will even add an arrow to your educational quiver.
Share this
STEM For Every Classroom

Cross-Country Flight in a High School Classroom? There’s a Sim for That.