Flying under Instrument Flight Rules (IFR) is familiar and straightforward for airline pilots and many experienced general aviation pilots as well. However, for pilots who have recently obtained their private pilot certificate, adjusting to instrument flying can be challenging and disorienting at first. That is why the FAA requires additional flight hours, instrument training, and examination for pilots to fly under IFR.
After you undergo your private pilot training, the prospect of pouring more time and money into instrument training can seem daunting, but you can reduce the difficulty of your instrument rating by hitting the books before you start flying and taking a few, basic measures to prepare for your flight lessons.
Related Content: How Can You Reduce Your Instrument Rating Costs?
1. Master the FAA Knowledge Test
Get the written test out of the way first
Putting off the FAA knowledge portion of your training can create a proverbial monkey on your back, a burdensome nuisance that you must deal with before taking your checkride. The Instrument Rating Airplane (IRA) Knowledge Test is one of the most challenging FAA exams, with a question bank of more than 1,100 questions. It is a 60-question test, and you must get 70% of the answers correct to pass. There are many test prep programs available, and you should choose one and use one before you get too far along in your instrument training.
Per the FAA Testing Matrix, you must have one of the following to take the knowledge test:
- A certificate of graduation or a statement of accomplishment certifying the satisfactory completion of the ground school portion of a course from an FAA certificated pilot school (14 CFR § 61.71(a))
- A written statement or logbook endorsement from an FAA authorized ground or flight instructor certifying that you are prepared to take the required knowledge test (14 CFR § 61.65(a)(4)).
In other words, you must either complete an instrument ground school or have a Certified Flight Instructor - Instrument (CFII) or Instrument Ground Instructor (IGI) sign you off to take the knowledge test.
In addition to giving you the headspace to focus on your flight training, passing your knowledge test at the beginning of your instrument training will give you a foundation of knowledge that will help you advance more quickly and easily. If you want to get an idea of some of the questions you may see, take the King Schools Free FAA Instrument Pilot Test.
Related Content: Everything You Need to Know About Instrument Rating Requirements
2. Master the GRABCARD
Know the minimum equipment required for IFR flight
As part of your instrument training, you will need to know what equipment your aircraft must have for you to fly legally under IFR (14 CFR § 91.205). Commit GRABCARD to memory now, and you will have one less question to stress about for your checkride.
- Generator or alternator
- Radio/navigation appropriate for flight
- Attitude indicator
- Ball (inclinometer)
- Clock
- Altimeter (pressure sensitive)
- Rate of turn indicator
- Directional gyro
3. Master the CRAFT
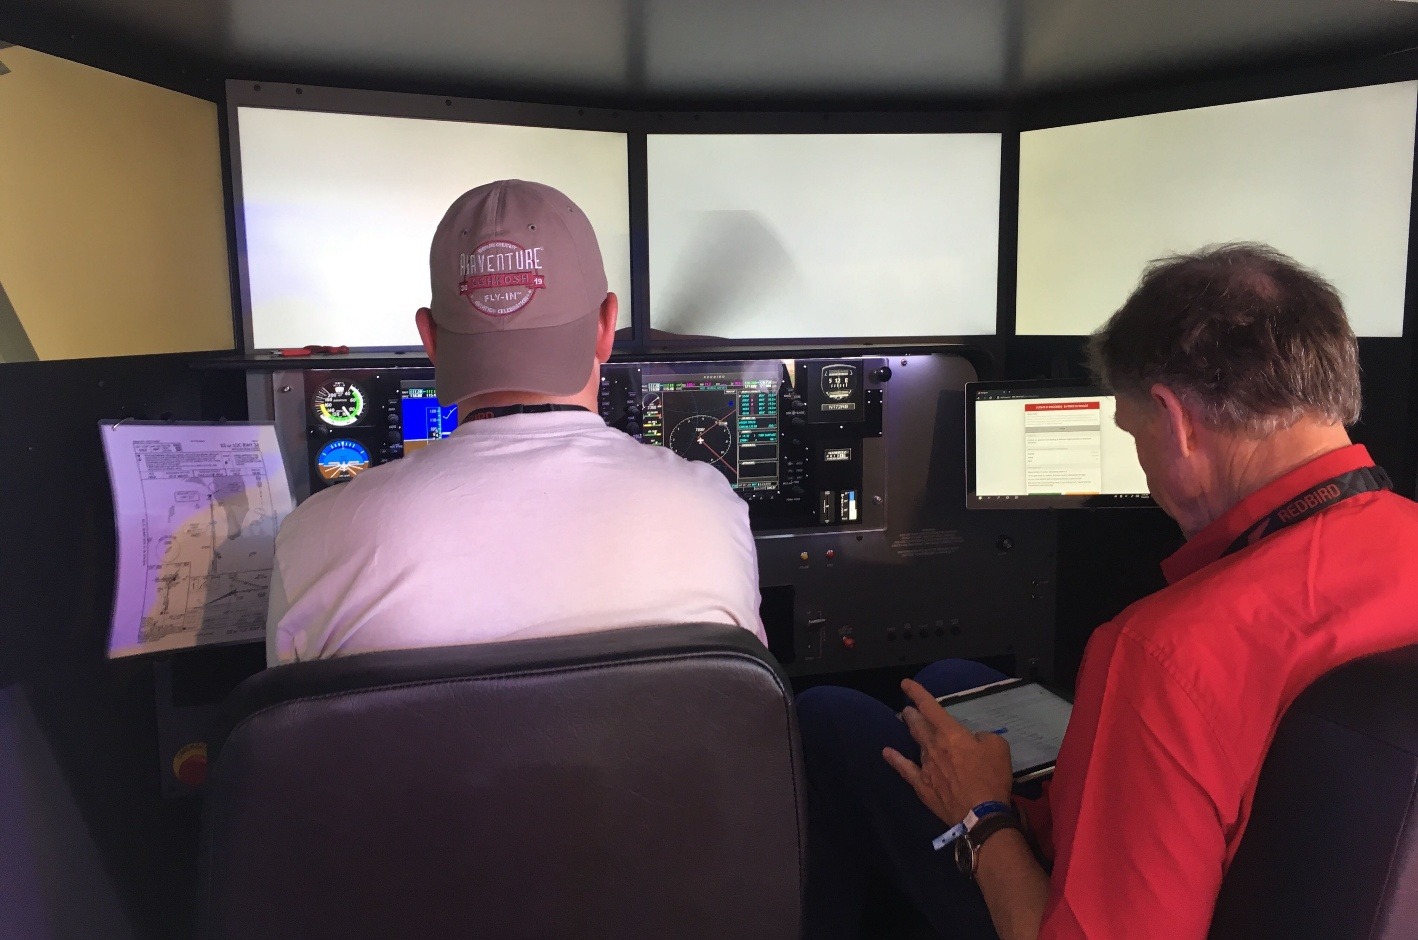
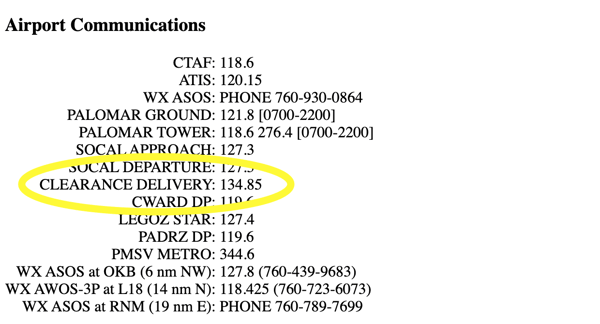
Learn how to pick up your IFR flight clearance
You should be familiar with how to pick up an IFR clearance at a towered or non-towered airport. You will have to demonstrate this on your checkride. If you are taking your checkride at a towered field, then you can pick up your clearance with the clearance delivery frequency. However, even if your checkride is at a towered field, you should be familiar with how to pick up a clearance at a non-towered airport.
The popular IFR clearance acronym used in training is CRAFT.
- Clearance (usually, but not always to the destination airport)
- Route (usually, this is the route filed in your flight plan, but ATC may change it)
- Altitude(s)
- Frequency
- Transponder code
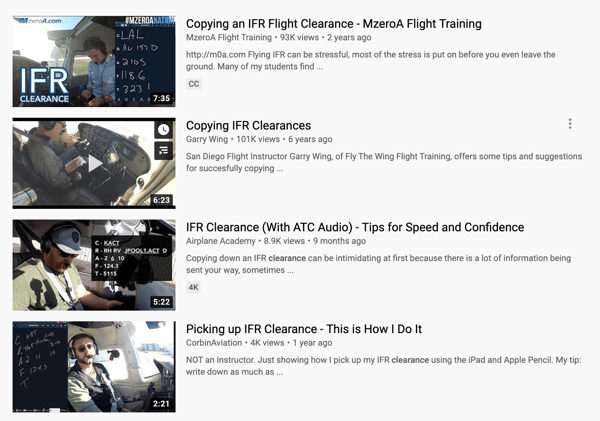
Once a clearance is provided to you, you must read it back. Clearance readback is something that will get more familiar with practice. You can find plenty of video examples of pilots picking up clearances on the internet. YouTube offers a treasure trove of pilots sharing their experiences and tips, and it is an excellent tool to listen to and become familiar with radio communications.
However, keep in mind that not all pilots on YouTube are good—or even safe—pilots, even if they are veteran airline pilots or instructors. There are plenty of videos on the internet of pilots flying carelessly or unsafely, and the FAA has reiterated that it has "no authority to direct or suggest" that a flying video on the internet should be removed. Your flight instructor may have suggestions for which channels you should watch, and your flight school may even have its own.
Related Content: 3 Tips to Consider if You're Thinking About an Instrument Rating
4. Master the AVE F MEA
Your IFR lost communications procedures
On your checkride, you should expect to hear the question: “What do you do if you are flying under Instrument Flight Rules and you lose radio communications?” DPEs ask this question to test your knowledge of §91.185. Having the “Avenue F MEA” acronym committed to your memory will allow you to quickly and accurately answer this question. You would explain how you would squawk 7600 in your transponder, and then what route and altitude you would fly.
The first part of the acronym, AVE F, tells you which route you should fly in the event of lost communications.
- Assigned (if you were told to fly direct somewhere, fly there)
- Vectored (if you are on a heading, fly that)
- Expected (if not on a vector, fly what ATC told you to expect)
- Filed (fly the route you filed)
The second part of the acronym, MEA, covers the altitude you should fly in the event of lost communications.
- Minimum en-route altitude
- Expected altitude
- Assigned altitude
5. Master MARVELOUS VFR C500
Mandatory reports under IFR
You must be familiar with which reports need to be made to ATC or FSS facilities without a specific ATC request (under FAR 91.183 and AIM 5-3-3). The popular acronym for this is “MARVELOUS VFR C500.”
- Missed approach
- Airspeed ±10 knots or 5% change of filed TAS
- Reaching a holding fix (time and altitude)
- VFR on top altitude changes
- ETA change of ±3 minutes (non-radar)
- Leaving a holding fix
- Outer marker inbound (non-radar)
- Unforecasted weather
- Safety of flight
- Vacating an altitude or flight level
- Final approach fix inbound (non-radar)
- Radio or navigation failure
- Compulsory reporting points (non-radar)
- 500 FPM climb or descent rate not obtainable
6. Master Holding Pattern Entries
Direct, teardrop, and parallel entries
A holding pattern is a method of delaying an aircraft already in flight, by having it fly a racetrack pattern within a specified airspace. Air Traffic Control may put aircraft in a hold for weather conditions, an airport closure for snow removal or emergencies, or to ease traffic congestion.
For new pilots, the entry to a holding pattern can be one of the most challenging parts of an IFR checkride. You must be familiar with the three types of holding pattern entries: teardrop, parallel, and direct, and when and how to use them. Using a flight simulator to practice holding entries is a great way to build your proficiency with this skill while keeping the cost of your IFR training within budget (see 61.51(g) Logging instrument flight time: (4)).
Pilots often make errors with holding pattern entries due to incorrect visualization, but there are a number of resources available to help you become familiar with holding pattern entries on the ground.
- The “Dirty Dozen” Method of Hold Visualization can help you memorize each step of a hold.
- For visual learners, practice drawing holds at home.
- You also can purchase a holding pattern computer for around $15, which may help you better visualize holding pattern entries.
The FAA instrument rating knowledge test will also have several questions about holding pattern entries that you will need to learn in order to pass.
You can make the best use of your training time by allotting plenty of time on the ground, on your own, to prepare. Many of the concepts you will need to demonstrate your knowledge of on your Instrument Rating checkride you can review and master on your own. For example, everything you need to explain about flight instruments is available on the FAA’s website in the Pilot’s Handbook of Aeronautical Knowledge (PHAK).
Long before your checkride, you also should review the Airman Certification Standards, including the knowledge, risk management, and skill task elements, and the Practical Test Checklist. Make sure you have all the required documents for yourself and your aircraft, as well as personal equipment, such as a view limiting device.
If you prepare thoroughly for your checkride, there will be no surprises or “I can’t believe s/he asked me to do that” examiner shockers. Individual study on the ground also will prepare you for the one-on-one time that you spend with your instructor, and give you peace of mind that you only pay for the time that you need.
Share this

4 IFR Training Tips To Help You Start Flying in the Clouds
Commercial Pilot Requirements: A Beginner's Guide