Preflight inspection is one of the first skills a Certified Flight Instructor (CFI) will teach a new pilot. Most learners are eager to get into the air and may try to rush the inspection — and some CFIs have a similar mindset. Try not to be this person. Use the appropriate preflight checklist for the aircraft and take your time prior to takeoff. Like many new skills, the practice can seem tedious at first. Yet, the more you do it, the more you will refine your movements.
Before the First Preflight
If able, do the inspection yourself before the learner arrives to prevent either of you from feeling pressure to rush the inspection. When you already know the aircraft is airworthy, it is much easier to focus on teaching.
Lay out and organize the tools you will need for the inspection, including a pipette, sump cup, oil rag, and your checklist.
Lastly, think about how you want to approach the inspection — and the next one. Since most people are kinetic (hands-on) learners, you may find it beneficial to read the checklist as the learner does the hands-on work.
Either way, I would recommend joining the learner for the first preflight inspection. During the second inspection, stand by and supervise. By the third, stay inside the FBO and watch the learner from the window. This approach will help instill confidence in them.
Related Content: How To Be a Good Instructor in the Cockpit, Classroom, and Simulator
Conducting the Preflight
Start by standing in front of the airplane to look for any potential areas that clearly need your attention — like a flat tire or a puddle of oil under the aircraft. As required at this stage in the preflight, make sure you teach the learner the local rules regarding the disposal of contaminated fuel.
If the aircraft is chocked or tied down, leave it that way and systematically remove the tie-downs or chocks once you finish that part of the aircraft. This technique helps you identify where you are on the checklist.
Once you enter the aircraft, you should first check the ARROW documents.
- Airworthiness
- Registration
- Radio (if outside the United States)
- Owners manual (airplane flight manual [AFM] or pilot’s operating handbook [POH])
- Weight and balance
Teach the learner to place the documents back in order with the airworthiness certificate facing outward. Per 14 CFR 91.203 (b), "no person may operate a civil aircraft unless the airworthiness certificate required by paragraph (a) of this section or a special flight authorization issued under § 91.715 is displayed at the cabin or cockpit entrance so that it is legible to passengers or crew."
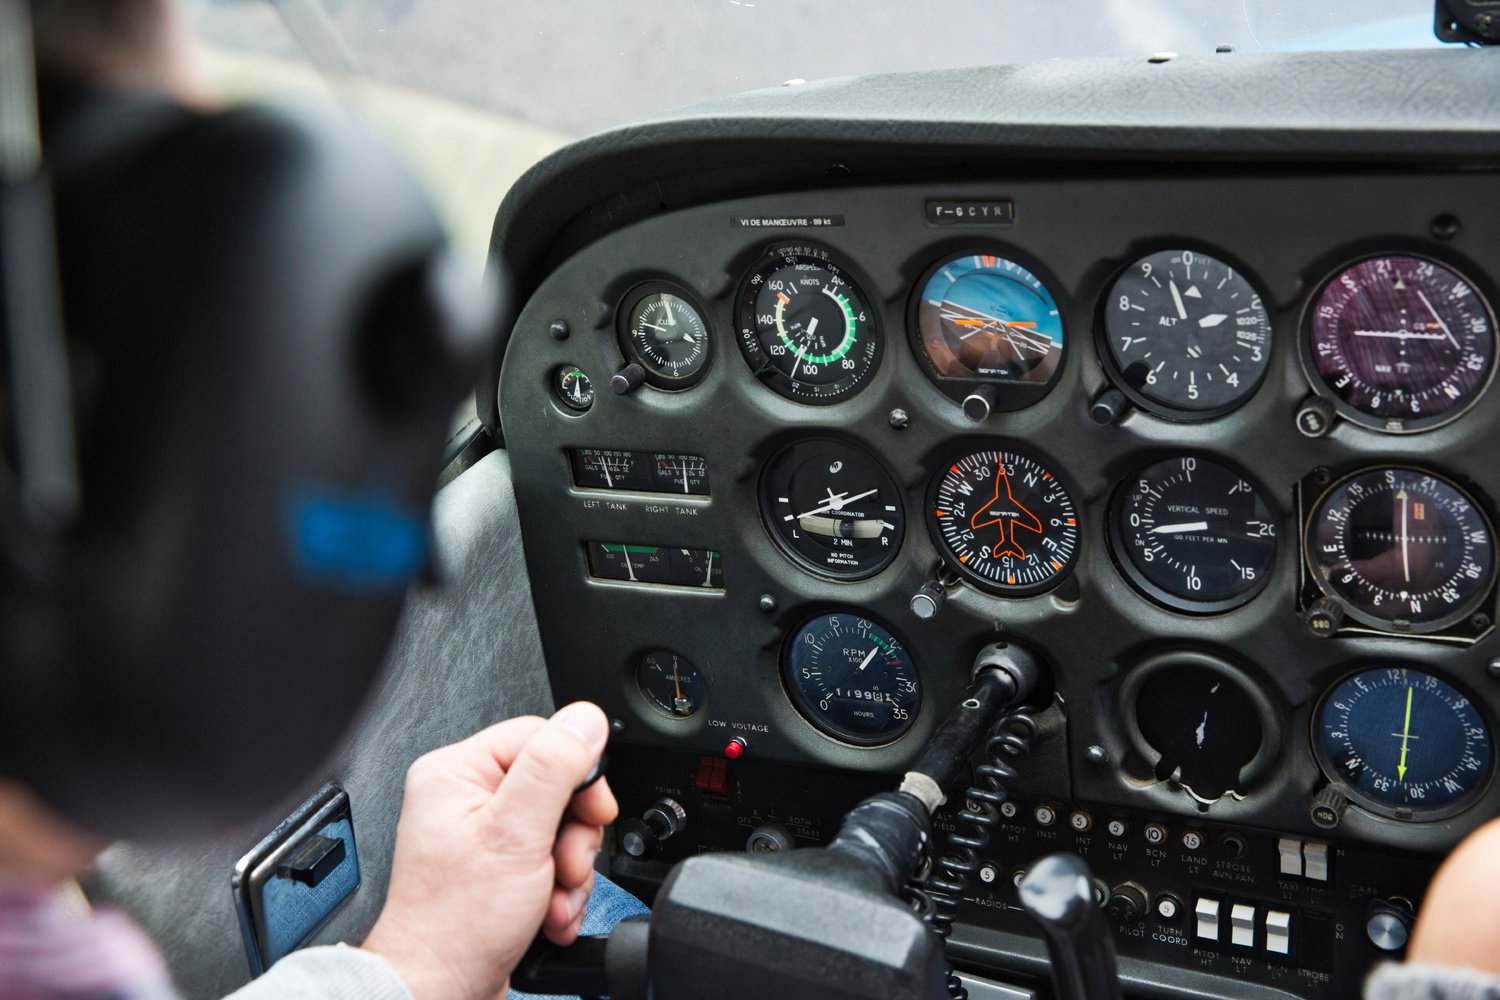
Next, turn on the master switch, put the flaps down, and note the fuel reading of the fuel gauge — warning the learner not to trust it (because it is calibrated to be accurate when empty). Turn the lights on (and the pitot tube, if appropriate), then quickly move around the aircraft exterior to note the state of the lights. Is one dark? If so, does the learner know if they can fly with that light out?
.jpg?width=600&name=maria-teneva-m2MIMI7VS4Y-unsplash%20(1).jpg)
Get back inside the aircraft and turn off all lights, then the master. Return to the checklist. If you activated the pitot heat, use the back of your hand to check if the tube is heated up. Teach the learner that the pitot tube can get so hot it will give them a blister on their finger if they are not careful.
At this point in the preflight, depending on your fuel quantities, you should call for fuel if you can get it delivered.
Next, double-check the tach and Hobbs numbers to ensure you are not paying for anyone else's time.
Using the checklist and the diagram in the POH, carefully move around the aircraft checking everything in a logical fashion. Make sure the pipette you have is the proper one for the aircraft and it does not get placed on the ground. The learner should understand they do not want dirt to get into the fuel.
If you need to refuel, wait about 15 minutes for the fuel to settle while you finish the inspection. Then, sump the tanks.
Be careful about manipulating the yoke, elevator, and ailerons. Warn the learner about accidentally smacking someone with a flight control surface because they were too close to a surface or the yoke. If you are in a high-wing airplane, show the learner how to hold up the aileron during the inspection, and instruct them not to put their fingers too close to the hinge without a hand in a supporting position to protect them from pinching their fingers.
Double-check the fuel level with the pipette. Trust the pipette (not the gauges) to determine the fuel level of the aircraft. If you have not already, show the learner how to dispose of contaminated fuel properly.
If you are interrupted during the inspection, teach the learner to back up three items to ensure nothing was skipped.
Beyond the Basics
Once the learner has the basics, check the quality of their preflight inspection by salting the airplane with something that obviously does not belong there. For example, place pennies on the aircraft.
- A penny near the fuel cap on the wing means the fuel cap was left off overnight. Could this be an issue?
- A penny on the left tire stands for a flat spot on the tire. Is the aircraft still airworthy?
Most learners take great pride in being able to perform the preflight inspections on their own. No doubt they will have questions, but they may become distracted when you come out to the airplane. To strike a balance, teach the learner to leave the left wing tied down. When you get to the aircraft and see the wing still tied down, it lets you know they have a question, and learning can take place.
Share this
Rethinking the Attitude and Heading Indicators in Stall Recoveries
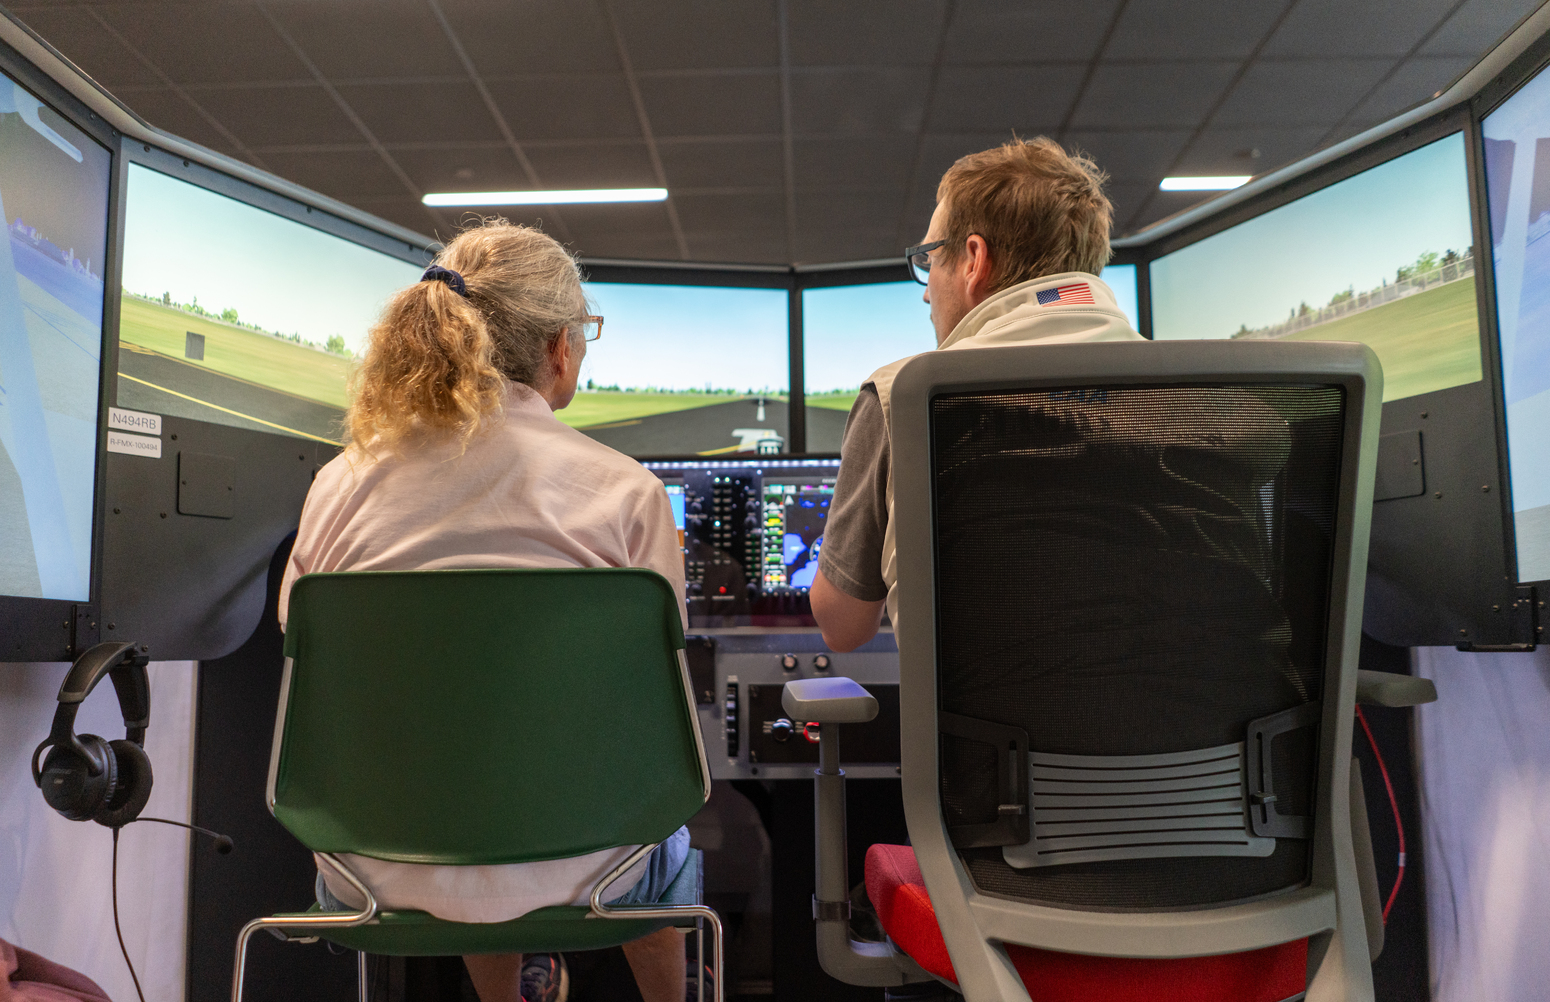
Why a Flight-Simulator-First Approach to Training Benefits Everyone